Campaign categories
Some clients don't want their ads to be displayed next to the ads of their competitors (for example, ads of different auto dealers). And you can meet these requirements, if you use separating categories in the settings of a campaign. So ads of one campaign can be displayed far from the ads of other campaigns in the same category, when it's possible.
Categories can be used only in campaigns with Auto by frequency strategy.
Contents:
Weight of a category
Sometimes it's not possible to take into consideration all categories, for instance, if they contradict each other.
The weight of a category will help you deal with this problem. Using weight, you can set higher priority to a category of greater importance. Categories with first priority (with lowest weight value) will be considered above all other categories, categories with second priority will be considered after the first one, and so on, while it's possible to take those categories into consideration.
Create a category
To assign a category to a campaign, you first need to create the category into the system.
To create a category:
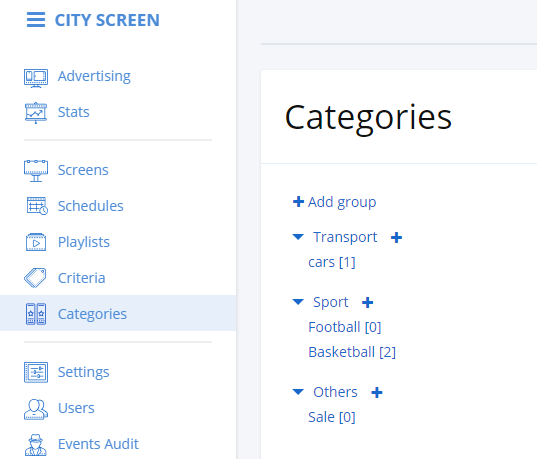
- Go to the Categories page.

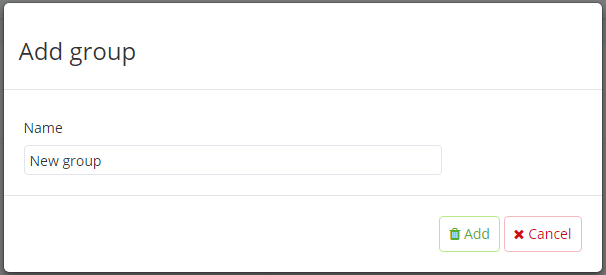
- Click on the Add group. The Add group dialogue opens.

-
Name the group and click Add. The group is now added to the list.
-
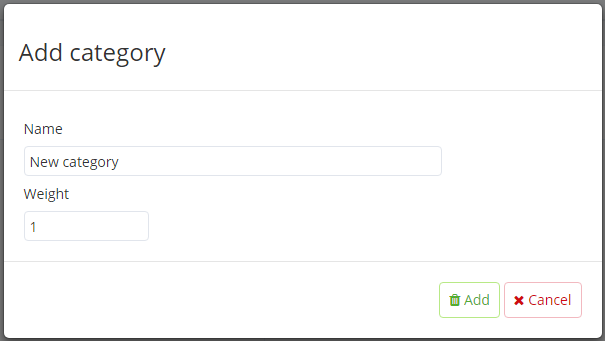
Click on the plus icon next to the name of the group. The Add category dialogue opens.

-
Name the category.
-
Define the weight of the category.
-
Click Add to finish adding the category.
Assign a category to a campaign
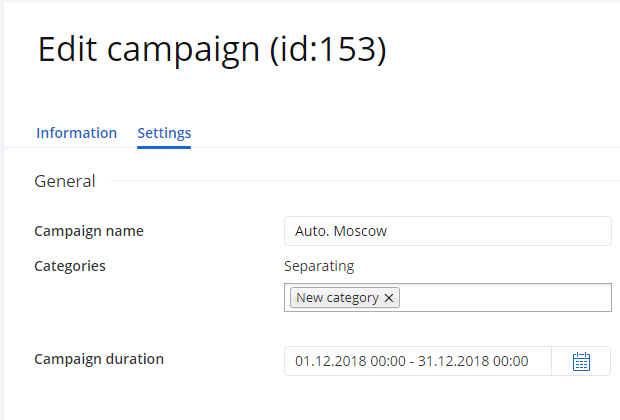
You can assign a category to a campaign in the campaign settings, selecting the corresponding category from the drop-down list in the categories fiels.

One campaign can have various categories. Just keep in mind that if you assign too many categories, not all the categories may be taken into consideration when the media plan will be generated.